
Stepping through the internal code of your JavaEE application server in IntelliJ IDEA
While while trying to container based authentication working with a JDBC realm, I had the need to step through the internals of GlassFish to get a better idea why my settings were not working. It seems that by default IntelliJ IDEA does not provide access to the class path of the application server.
To be able to step through the code, I had to follow a few steps:
1 - Increase the logging in GlassFish. This is optional, but it gave me an idea of where to start looking for the issue.
2 - Download the GlassFish source code. This is not an issue for an open source app server. If you don’t have access to the source of your particular proprietary app server, IntelliJ IDEA will still allow you to step through it, and will try to decompile the code, with various level of sucess.
3 - Add the jar that contains the actual compiled byte code. I found two ways of doing this for Maven based project, one using the provided scope, and another way using the system scope. This step is critical, and at least for me counter intuitive.
Add the jar to your pom.xml using the provided scope:
<dependency>
    <groupId>org.glassfish.main.extras</groupId>
    <artifactId>glassfish-embedded-all</artifactId>
    <version>4.1</version>
    <scope>provided</scope>
</dependency>
This is the easiest solution, but you might not be able to find the required jar in any maven repo. If you don’t find the right jar, but find any jar that has the class, you can use. For this to work you will have to attach the right source code, as downloaded in step #2. Otherwise, IntelliJ will decompile the class and give you a nonsensical java file that does not match what you are running.
Add the jar to your pom.xml using the system scope:
<dependency>
    <groupId>org.glassfish</groupId>
    <artifactId>glassfish</artifactId>
    <version>4.1</version>
    <systemPath>h:/servers/glassfish/modules/security-ee.jar</systemPath>
    <scope>system</scope>
</dependency>
If you don’t have source code, I recommend this approach. This will give you a lot of information, even if you lack access to the source code.
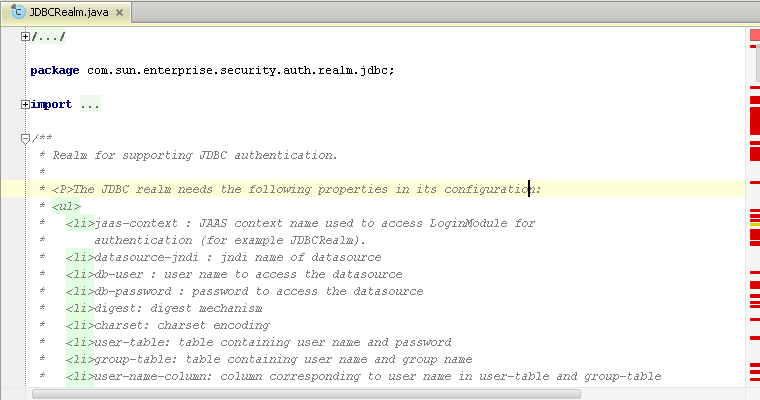
5 - Add the source to your new library. The easiest way is to open the class that you want to examine or add the break point to. Once open you will see the source as decompiled by IntelliJ IDEA. If possible add the sources you downloaded in step #2 to make your life a bit easier. Select “Choose Sources…” and navigate to your source directory.

You now have access to the class you need. Drop a break point, add a watch, step through it as you need!
6 - Make sure you remove the dependency after your done. You don’t want to have extra dependencies, and in the worst case the build will fail in other computers, if the system scoped library is not available in the same location.
Comments